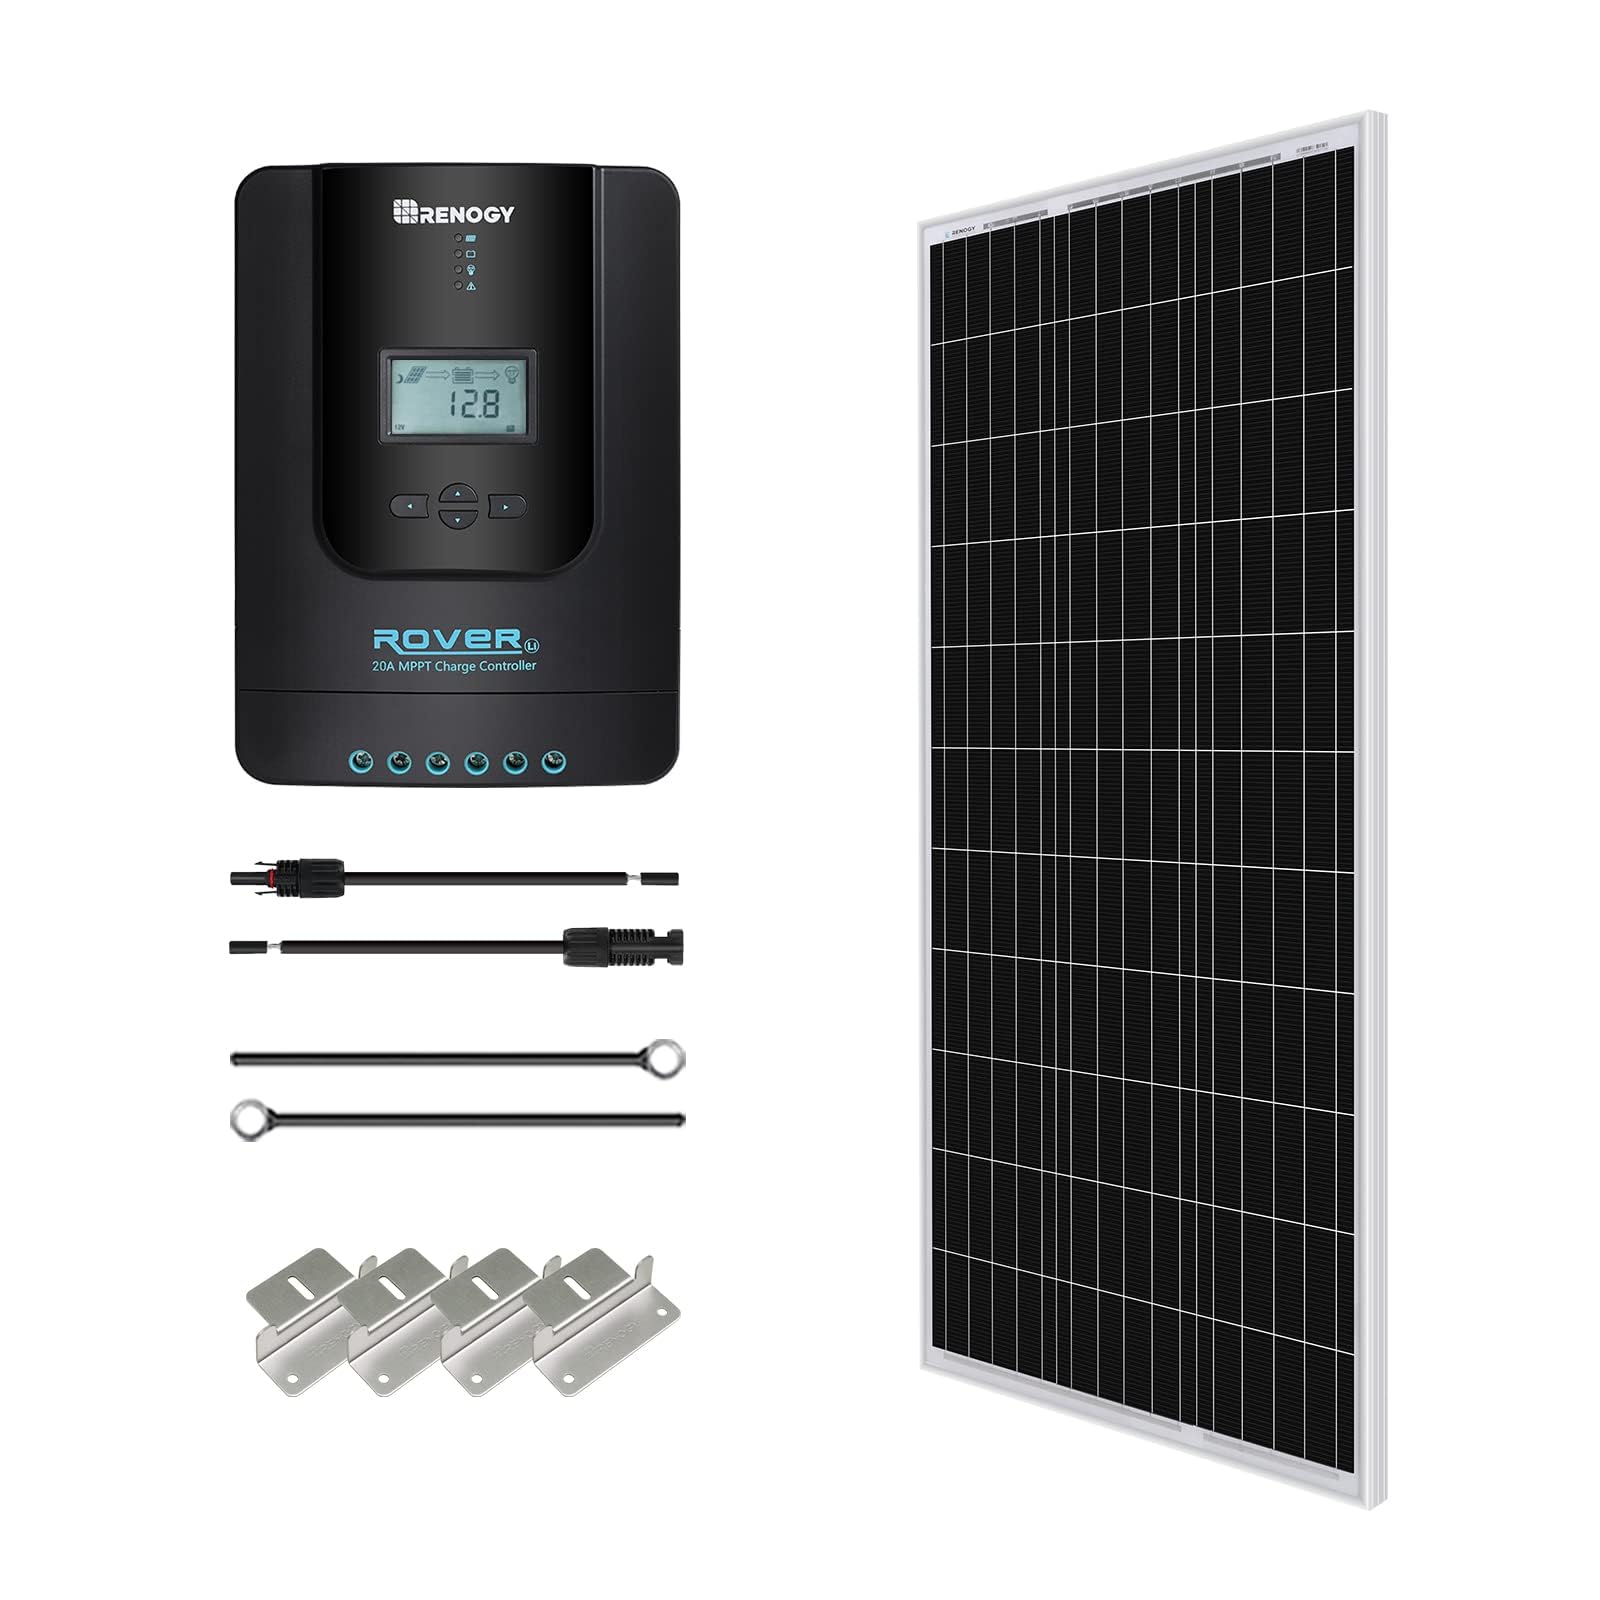
BougeRV Li 30A PWM Solar Charge Controller, 12V/24V, Backlit Display, USB Port, Compatible with RV & Off-Grid Systems


All About This Product
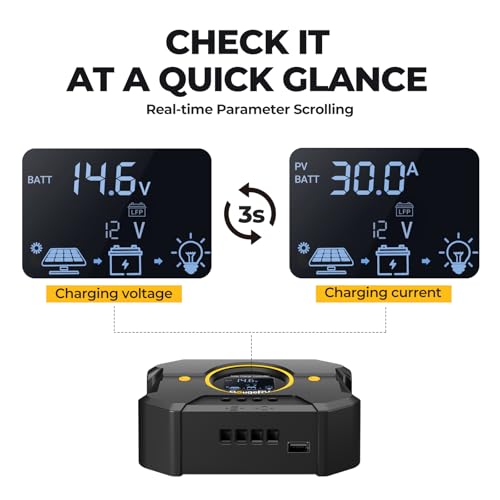
EASY-READ BACKLIT DISPLAY Experience crystal-clear visibility with our 30A solar panel regulator. Our intuitive display cycles the PV input current and battery voltage on the main interface every 3 seconds, showing real-time values. The larger screen size and 50% brightness in no-operation mode ensure that you can read the display even in dim light. Whether you’re checking PV status or battery voltage, this solar charge controller is designed for easy readability and quick comprehension.
LITHIUM-COMPATIBLE TECH Our PWM controller is not only compatible with traditional batteries but also comes equipped with clear and special icons for various lithium batteries. For LiFePO4 users, you'll see the LFP icon, for Ternary lithium batteries, the Li icon, and for Lithium-Titanium-Oxide, the LTO icon. With just a setting change to Li battery type, this controller also provides a jumpstart feature to protect your lithium battery from deep discharge, eliminating the need for a new controller for your upgraded Lithium-ion batteries.
BATTERY COMPATIBILITY AND MAINTENANCE This solar charge controller is compatible with a wide range of 12V or 24V batteries, including SLA, GEL, AGM, LiFePO4, ternary lithium, and LTO batteries. You can rely on it to program the best charging and maintenance settings for any battery type, ensuring reliability and longevity. Whether you need to monitor or maintain your battery, the solar panel regulator is your trusted maintainer.
SOLAR PANEL REGULATOR SPECIFICATIONS Designed for high efficiency, this solar panel regulator handles up to 450 watts input for a 12V battery system and 900 watts for a 24V system. Maximum PV input voltage is 55 volts, ensuring it can cater to your specific solar panel needs.
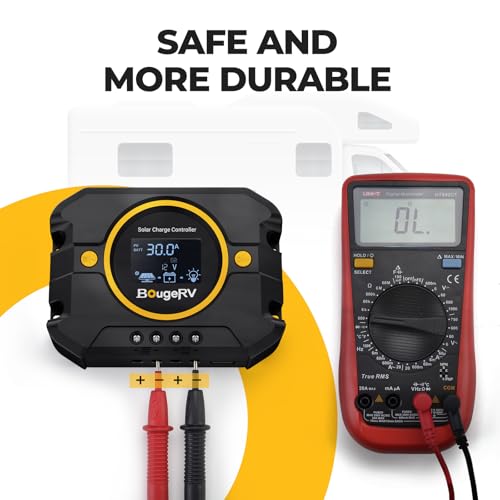
NEAT AND SAFE WIRING Our product comes with 3 pairs of spade terminals, making it easy to grip the wires securely and create a neat wiring setup. Follow the step-by-step instructions to ensure a safe and proper installation: 1. Turn the screwdriver counterclockwise to open the wire clamp holes. 2. Connect the positive battery wire first. 3. Then connect the negative battery wire. 4. Finally, connect the controller to the solar panel. 5. Remember, do not disconnect the battery while the solar panels are active.
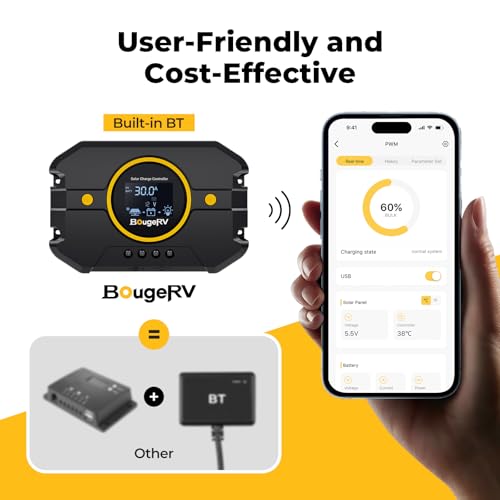
APP CONNECTIVITY (BEGUN ON 9/28) For users who purchased after 9/27, enjoy the convenience of connecting your device to the app for remote monitoring and control. Our new version offers enhanced functionality for detailed system management.
Note: Older versions purchased before 9/27 do not include app connectivity.


You'll also love